The Project
Geothermal Well Drilling
Running the Tubing into the House
Adding the Quick Grout to seal the wells is a pretty quick process. What does take some time is getting the tubing from the wells to the house. A four-foot-deep trench must be run to keep the tubing insulated from seasonal temperature changes. The tubing is brought through the wall of the house. After testing the pressure in the loop and temporarily capping the ends, the well drillers are done.
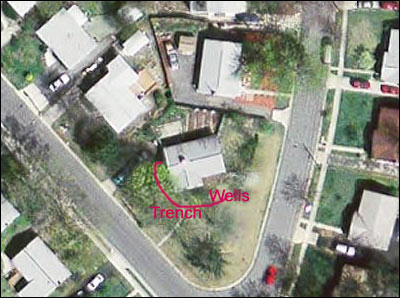
Our house has a finished basement so this presented some difficulties. We ended up running a trench around the side of the house to the back.
First, the trenching crew carefully digs out around the wells. The white PCV tubes help protect the ground loop tubing for the first few feet. The white PCV tube is then broken away exposing the ground loop tubing.
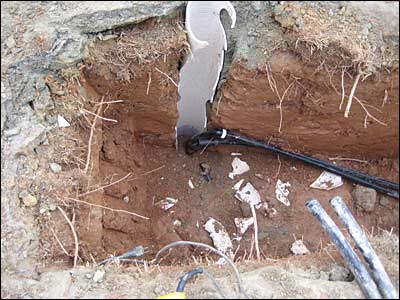
The trenchers can then hook up a longer tube leading from the wells to the house.
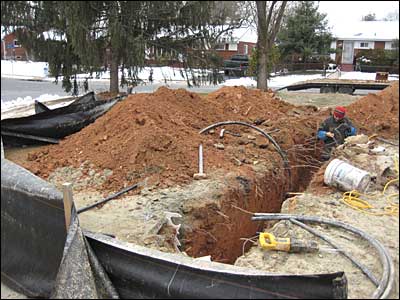
The trench is then run around the house to the back. In this case it even went underneath our sidewalk.
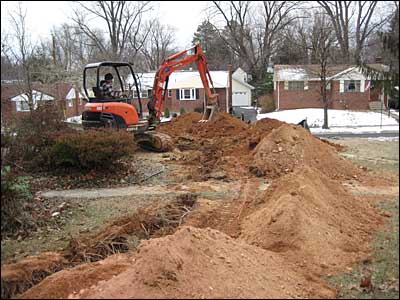
The tubing (in this picture there is only one tube but I'm pretty sure there were two when they were done) then runs along the bottom of the trench leading right up to the house.
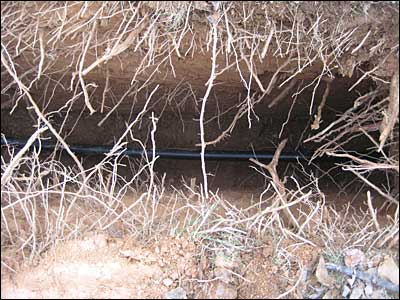
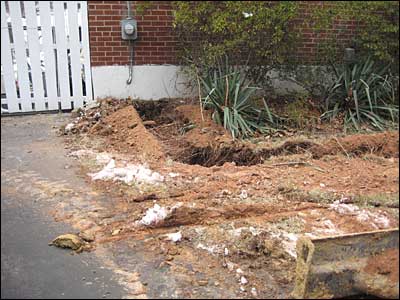
I'm still not seeing two tubes though.
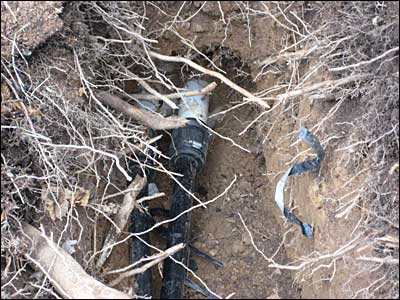
There they are! The tubes go into a coupling that secures them as they enter the house.
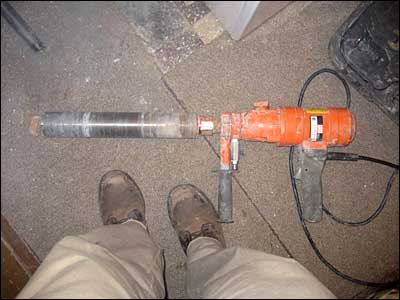
To run the tubes into the house, two holes are drilled with this awesome looking drill.
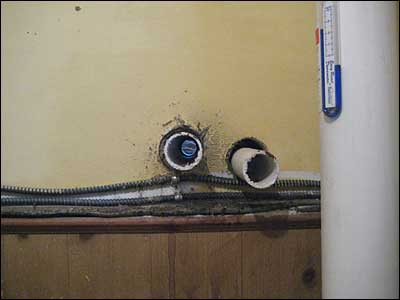
You can see the holes are open to the outside. They drill from the inside out to make things a bit less messy.
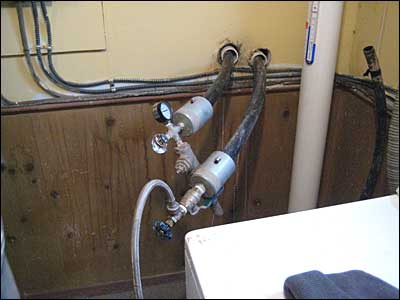
Next the tubes are run through the wall, pressure tested, and cemented in. Finally they are capped off and left waiting for the HVAC crew to hook them into the heat pump itself.
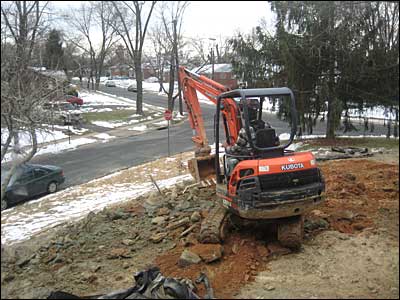
Hey, did anyone see that other guy get out of the trench?
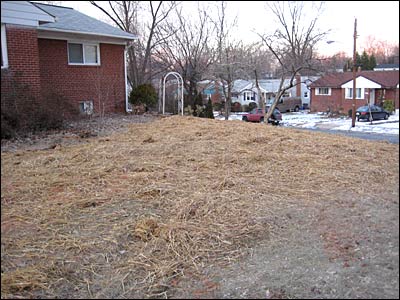
Outside, the trench is filled back in and the yard begins to look somewhat more normal.
Here's a rough diagram of where the trenching ran. There will be a bit of lawn rehabilitation to do this spring.
